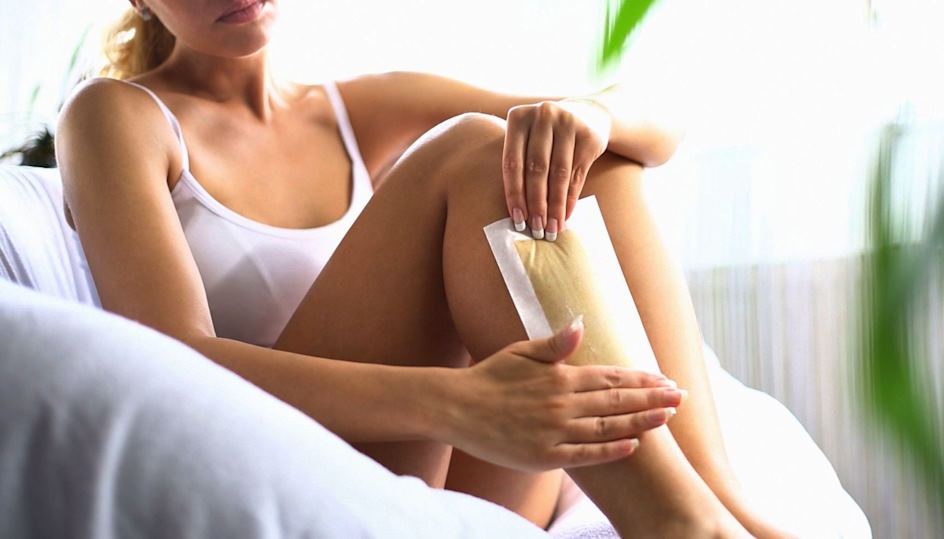
The Dos and Don’ts of Waxing at Home

Embarking on your at-home waxing journey can seem daunting, but armed with the right information and preparation, you can navigate this process with confidence. Whether you’re a seasoned waxing enthusiast or a beginner looking to venture into the world of DIY hair removal, this guide will equip you with the knowledge you need to achieve salon-worthy results from the comfort of your own home.
The Dos of Waxing at Home
When it comes to waxing at home, proper preparation is key to a successful hair removal session. Here are some essential dos to ensure your skin is adequately prepped:
Prepare the skin adequately:
- Exfoliation: Before waxing, it’s crucial to exfoliate the skin to remove dead cells and lift any ingrown hairs. Use a gentle exfoliating scrub or mitt to buff the area gently, promoting smoother waxing results.
- Cleaning the area: Cleanse the skin thoroughly with a gentle cleanser to remove any dirt, oil, or residue. This helps to ensure that the wax adheres to the hair effectively, reducing the risk of missed patches and uneven results.
Choose the right waxing product:
- Consider skin type and sensitivity: Select a waxing product that is suitable for your skin type and sensitivity level. Whether you opt for hard wax, soft wax, or wax strips, choose a formula that is gentle on the skin and designed for at-home use.
- Test patch before full application: Before applying the wax to a larger area, perform a patch test on a small, inconspicuous area of the skin to check for any adverse reactions or sensitivity.
Follow instructions carefully:
- Temperature control: If using a wax that requires heating, ensure that you follow the instructions for temperature control carefully. Overheating the wax can lead to burns and skin damage, while wax that is too cool may not effectively remove hair.
- Application technique: Pay close attention to the recommended application technique provided with your chosen waxing product. Whether spreading the wax in the direction of hair growth or against it, following proper technique ensures optimal results and minimizes discomfort.
Handle pain effectively:
- Use numbing creams or gels: To alleviate discomfort during waxing, consider using numbing creams or gels applied to the skin before waxing. These products help to dull sensation, making the process more tolerable.
- Deep breathing exercises: Practice deep breathing exercises to help relax the body and manage pain during waxing. Taking slow, deep breaths can help to distract from discomfort and promote a sense of calmness throughout the process.
The Don’ts of Waxing at Home
While waxing at home can yield fantastic results when done correctly, there are several common mistakes to avoid to ensure a safe and effective hair removal experience. Here are some important don’ts to keep in mind:
Don’t rush the process:
- Allow sufficient time for preparation and application: Rushing through the waxing process can lead to uneven results and increased discomfort. Take the time to properly prepare your skin and apply the wax methodically for the best outcome.
- Avoid quick, jerky movements: When removing wax strips, refrain from pulling them off hastily or with sudden movements. This can cause unnecessary pain and may result in skin irritation or bruising.
Don’t overheat the wax:
- Risk of burns and skin damage: Overheating wax can result in severe burns and damage to the skin. Always follow the manufacturer’s instructions for heating and use a thermometer if necessary to ensure the wax remains at a safe temperature.
- Use a thermometer if necessary: To avoid overheating, use a thermometer to monitor the temperature of the wax throughout the waxing process, especially if using a wax warmer.
Don’t double dip:
- Maintain hygiene to prevent contamination: Double-dipping the applicator into the wax pot can introduce bacteria and contaminants, increasing the risk of infection. Use a new applicator for each waxing session to maintain hygiene.
- Dispose of used wax properly: After each waxing session, dispose of any used wax and applicators properly to prevent cross-contamination and maintain a clean waxing environment.
Don’t wax over irritated or broken skin:
- Risk of infection and further irritation: Waxing over irritated or broken skin can exacerbate the problem and increase the risk of infection. Avoid waxing over cuts, burns, or other skin irritations.
- Wait for the skin to heal before waxing again: Give your skin time to heal before attempting waxing again in the affected area. This allows the skin to recover fully and reduces the likelihood of further irritation or damage.
Tips for Successful At-Home Waxing
Mastering the art of at-home waxing takes practice and patience, but with the right approach, you can achieve salon-worthy results from the comfort of your own home. Here are some valuable tips to enhance your waxing experience:
Start small:
- Practice on smaller, less sensitive areas first: Begin your waxing journey by practicing on areas with thinner hair and less sensitivity, such as the legs or arms. This allows you to familiarize yourself with the process and gain confidence before tackling more challenging areas.
- Gain confidence before tackling larger areas: As you become more comfortable with the waxing technique, gradually progress to larger and more sensitive areas, such as the bikini line or underarms. Building confidence gradually will help you achieve smoother results with less apprehension.
Follow up with proper aftercare:
- Soothe the skin with post-waxing products: After waxing, treat your skin to some TLC by applying soothing post-waxing products, such as aloe vera gel or moisturizing lotion. This helps to calm the skin and reduce redness or irritation.
- Avoid sun exposure and tight clothing: In the hours following waxing, avoid exposing the waxed area to direct sunlight and tight-fitting clothing, as this can exacerbate irritation and ingrown hairs. Opt for loose, breathable clothing to allow the skin to breathe and heal properly.


